This Brush Lettering Class Gives You Hope Even If You Have Ugly Handwriting
It’s probably safe to say we’ve all seen pictures of brush lettering.
A trend that’s taken flight in weddings, hipster cafes, and that’s seen on many a motivational quote on Pinterest, many of us find ourselves wishing we too could write such pretty calligraphy! If you’re anything like me, this would promptly lead you down two trains of thought: (1) it’s probably really expensive to learn and (2) I won’t be able to master it anyway.
[caption id="attachment_28639" align="aligncenter" width="564"] Brush lettering (Image Credit: Pinterest)[/caption]
That’s certainly what I thought, until I came to Witty Studio and tried their Watercolour Brush Lettering Class.
Learn calligraphy without breaking the bank
A relatively new brand, Witty Studio was started up by the friendly, approachable Priscilla.
[caption id="attachment_28638" align="alignnone" width="6720"] Priscilla, the Founder of Witty Studio[/caption]
With her classes priced at just $95 per person per session (and $85/person if you bring a friend), this 4.5h workshop is much more affordable compared to most calligraphy classes, which typically costs between $100 – $150 for a shorter duration of 3 hours.
A warm welcome
The workshop is held at Stamping Ground Coffee, a shared space that houses 3 concepts: coffee, flowers, and space. Stepping through the Stamping Ground doors, you immediately feel inspired and excited by the vibrant, unique space.
When I arrived at the workshop, I was pleasantly surprised to find that we were each given a pretty lace coaster with our names written on it in brush lettering! Pretty and Insta-worthy, this wasn’t the only bit of personalisation done by the team at Witty Studio – everyone also received a small motivational quote card and place card so that people seated at the same table could easily mingle and interact with each other.
Some of the returning students also got birthday cards, which was a sweet touch!
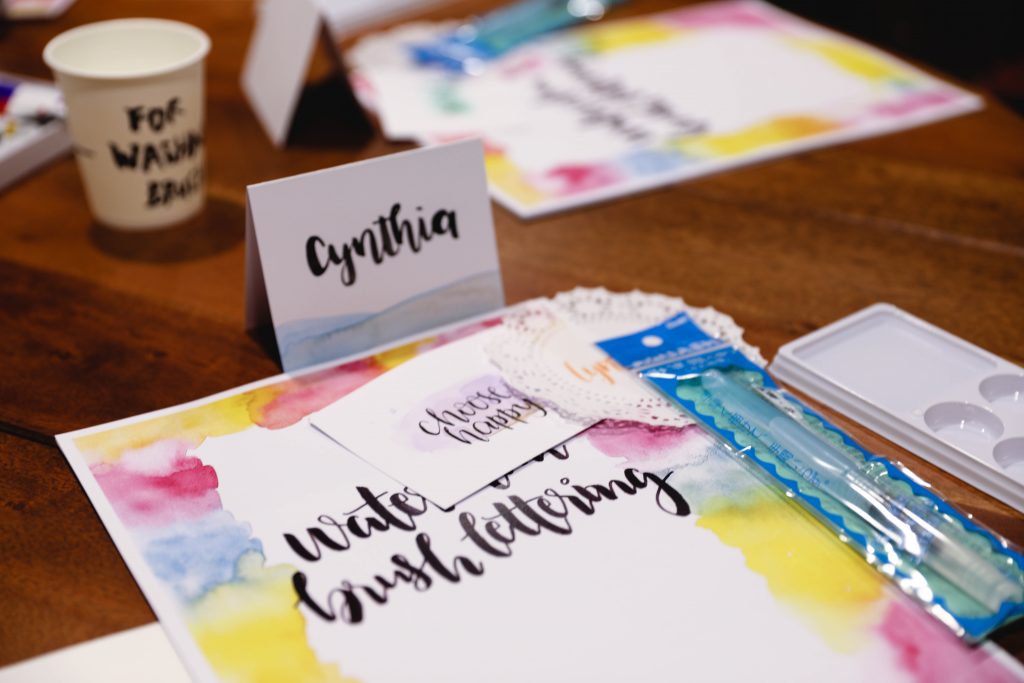
[caption id="attachment_28642" align="alignnone" width="6720"] All the materials you need for the class are provided[/caption]
All the materials we would need for the class were set at our assigned spot: a set of worksheets, a brush, a personal palette, and a bunch of water colour papers for us to do any of our rough work. There were also sharing sets of water colour paints at each table.
[caption id="attachment_28631" align="alignnone" width="6720"] Light bites are also provided at this workshop![/caption]
The next thing you notice when you enter the class is FREE FOOD. Small finger foods like mini donuts, bite-sized pizza coins, brownie cubes and small packets of gummy candy were also neatly displayed, free for students to eat!
Picking up the basics
Once every one of the 20+ students had arrived and had settled down, the class began, but not before Priscilla told the class to “take as many Instagram photos as you want. Nobody is going to judge you here!”
[caption id="attachment_28632" align="alignnone" width="6720"] Take as many photos as you want![/caption]
After Priscilla gave a short demonstration on the basic techniques of brush lettering, we started practicing on our own.
From vertical lines, we went to simple alphabets like ‘j’ and ‘c’. After filling our water colour papers with our crummy paintwork, we got the hang of it – some of us faster than others, but we got there eventually!
Fun fact: ‘r’ and ‘s’ are the most challenging alphabets to master – I can testify to this.
[caption id="attachment_28633" align="alignnone" width="4048"] ‘j’ and ‘c’ are the easiest alphabets to master[/caption]
After that, we started working on our worksheets, and the three teachers went around demonstrating the motion of different alphabets. They were very patient with us and their instructions were easy to follow.
[caption id="attachment_28637" align="alignnone" width="6720"] The 3 teachers move around the class, helping anyone who needs it[/caption]
Like doing primary school penmanship, we wrote each individual letter 7-10 times and got the hang of writing each alphabet. From lower case alphabets, we graduated to upper case alphabets, and finally to full words (this was the tough part).
Once we were done with our alphabets, we were ready to move on to watercolour flowers!
[caption id="attachment_28634" align="alignnone" width="4048"] Watercolour flowers[/caption]
One of the teachers came around to demonstrate it to us and the effect was super pretty!
We experimented with different colours and techniques of creating the beautiful watercolour flowers. Again, practice makes perfect, and eventually, we created some not fantastic, but not altogether terrible flowers. There were some really talented folks in the class who managed to create Pinterest-worthy flower wreaths and borders in just one lesson – we’re not kidding!
[caption id="attachment_28635" align="alignnone" width="4048"] The student who painted this says this was her first lesson![/caption]
Talent definitely comes into play a little bit when it comes to how quickly you pick up the skill of writing and painting, but even for the most talentless student (i.e. me), you can still create some pretty decent work if you put your mind to it – even in the short 4.5 hours. From there on, it’s just practice, practice, practice, and you’ll get there.
Create your own masterpiece
All this learning and practicing culminates in one thing – creating your own masterpiece.
With your masterpiece, you get free reign to do whatever you want. You can paint a quote, a word, a whole sheet of flowers, etc. Use whatever you’ve learnt in the class to create something to call your own and to take home!
[caption id="attachment_28636" align="alignnone" width="4048"] Another first timer did this![/caption]
Some of our classmates created some incredible final products, proving it’s actually possible to create a real masterpiece, even after just one lesson.
Take your final product to the “flatlay table” and show off your handiwork on your Instagram!
Fun, easy, and oh-so-worth it
When class ended, we were bummed that it was over. We hardly felt the time pass and we were just getting good at our flowers and brush lettering! But the class imparted in us all the basics so it’s definitely possible to take what you’ve learnt, practice at home and become good in your own time.
[caption id="attachment_28641" align="alignnone" width="6720"] Calligraphy[/caption]
That said, we enjoyed ourselves so much that we would definitely be back for a second lesson! After all, practicing around fun, like-minded people beats going at it alone in the quiet of your room.
[caption id="attachment_28640" align="alignnone" width="6720"] Students practicing together[/caption]
Returning, more advanced students are given separate tasks and are taught different techniques, so you will definitely get your money’s worth on your second class, and subsequent sessions as well.
Aside from your masterpiece, you get to take home all the little cards and knick-knacks that have been personalised for you, as well as all the materials you were given at the start of class. You’ll also be given a brand new set of watercolour paints so you can put to practice all the things you’ve learnt at the workshop!
We absolutely loved the energy and vibe of the workshop – the quick friendships that formed between students, the camaraderie between the patient, fun-loving (and sometimes cheeky) teachers and students, and the fact that you can learn and have fun at the same time here. Unlike a class where you work silently to master a skill, here, you’re chatting, popping gummy candy into your mouth, and having fun while learning an interesting skill!
The workshop definitely proved one thing, which is that no one is beyond hope when it comes to brush lettering.
To sign up for a class, either send a direct message to Witty Studio’s Instagram or email Priscilla directly at [email protected]! Witty Studio conducts classes once a month, so be sure to sign up early to secure a spot!
Also read We Tried Glamping For The First Time And It Was As Awesome As It Looks